
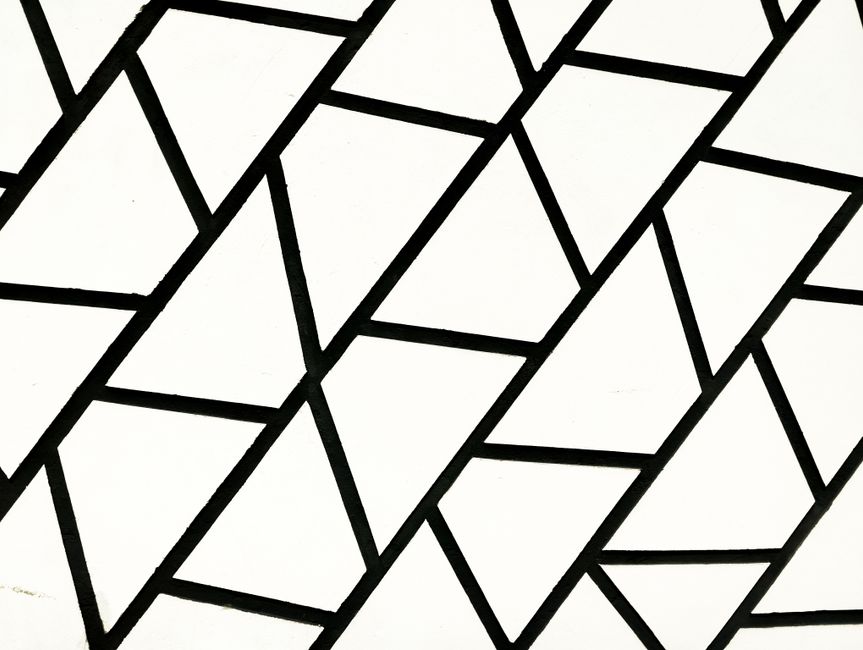
LaTeX is a powerful tool for creating high-quality documents, and when combined with the TikZ package, it becomes an exceptional platform for generating precise graphics. One of the most versatile features of TikZ is the foreach loop, which allows you to automate repetitive drawing tasks and create intricate patterns with minimal code. In this post, we'll explore how to harness the power of tikz foreach to generate stunning patterns, from simple geometric designs to complex tessellations.
What is a TikZ Foreach Loop?
At its core, a tikz foreach loop is a construct that iterates over a set of values, executing a block of drawing commands for each value. This is invaluable when you need to repeat similar shapes or operations multiple times, such as drawing a grid, a series of circles, or a fractal-like pattern. The syntax is straightforward:
\foreach \x in {1,2,...,10} { \draw (\x,0) circle (0.5); }This code draws ten circles along the x-axis, each centered at (1,0), (2,0), etc. The loop variable \x takes on each value in the list, and the code inside the braces is executed for each iteration.
Basic Patterns with Foreach
Let's start with some simple patterns you can create using tikz foreach.
Grid of Dots
A common use case is to create a grid of dots. Using nested loops, you can easily generate a two-dimensional array:
\foreach \x in {0,1,...,5} { \foreach \y in {0,1,...,5} { \fill (\x,\y) circle (2pt); } }This produces a 6x6 grid of dots. You can adjust the step size and range to create larger or denser grids.
Concentric Circles
Another simple pattern is a set of concentric circles. By looping over radii, you can draw multiple circles centered at the same point:
\foreach \r in {0.5,1,1.5,...,3} { \draw (0,0) circle (\r); }This draws circles with radii from 0.5 to 3 in increments of 0.5.
Advanced Pattern Generation
With a bit of creativity, you can use tikz foreach to generate more complex patterns, such as spirals, waves, and tessellations.
Spiral Pattern
To draw a spiral, you can use a loop that increments both the angle and the radius:
\foreach \i in {0,10,...,720} { \draw (\i:0.1*\i) circle (2pt); }This places dots along a spiral, with the angle and radius increasing with each iteration.
Wave Pattern
For a wave-like pattern, you can use the sine function within a loop:
\foreach \x in {0,0.1,...,6.28} { \fill (\x, {sin(\x r)}) circle (2pt); }This plots points along a sine wave. You can connect them with lines to create a smooth curve.
Combining Foreach with Other TikZ Features
The real power of tikz foreach comes when you combine it with other TikZ features, such as styles, nodes, and transformations.
Using Styles
You can define a style for your shapes and apply it within the loop:
\tikzset{mydot/.style={circle, fill=blue, inner sep=2pt}}
\foreach \x in {0,1,...,5} { \node[mydot] at (\x,0) {}; }
This creates a row of blue dots with consistent styling.
Transformations
You can also apply transformations like rotation or scaling within the loop. For example, to create a rotated pattern:
\foreach \a in {0,30,...,330} { \draw[rotate=\a] (0,0) rectangle (1,0.5); }This draws rectangles rotated around the origin, creating a fan-like pattern.
Foreach in PGFPlots Loops
For data visualization, pgfplots loop constructs are essential. PGFPlots builds on TikZ and provides a higher-level interface for plotting. You can use \foreach within PGFPlots to plot multiple functions or data series:
\begin{axis}
  \foreach \k in {1,2,3} {
    \addplot {x^\k};
  }
\end{axis}
This plots the functions x, x^2, and x^3 on the same axes. The pgfplots loop simplifies repetitive plotting tasks.
Tips for Efficient Pattern Generation
- Use variables wisely: You can loop over multiple variables simultaneously, e.g.,
\foreach \x/\y in {0/0, 1/1, 2/4}. - Leverage the
evaluateoption: In PGFPlots, you can compute values on the fly, e.g.,\foreach \x [evaluate=\x as \y using \x^2]. - Keep it readable: For complex patterns, break down the loop into smaller parts or use helper macros.
- Experiment with step sizes: Adjust the increment to control the density of your pattern.
Conclusion
Mastering the tikz foreach loop opens up a world of possibilities for creating intricate patterns in LaTeX. Whether you're drawing simple grids or complex mathematical visualizations, the foreach loop is a powerful ally. By combining it with other TikZ and PGFPlots features, you can generate latex loop shapes and tikz pattern designs that are both precise and beautiful. So go ahead, experiment, and let your creativity flow—your documents will thank you.


0 Comments